Whether you’re a professional filmmaker or a hobby photographer, being able to precisely control the zoom and focus on your camera can make a significant difference in the quality of your shots. For those looking to minimize manual adjustments and maximize the efficiency, an Arduino-powered zoom and focus tool could be the solution. In this blog post, we’ll take you step-by-step through creating this handy tool.
Before we begin the tutorial, it’s crucial to understand what Arduino is. Arduino is an open-source platform that blends both software and hardware to help create interactive electronic devices. By using Arduino in this project, we are enabling you to have full control over your camera lens remotely.
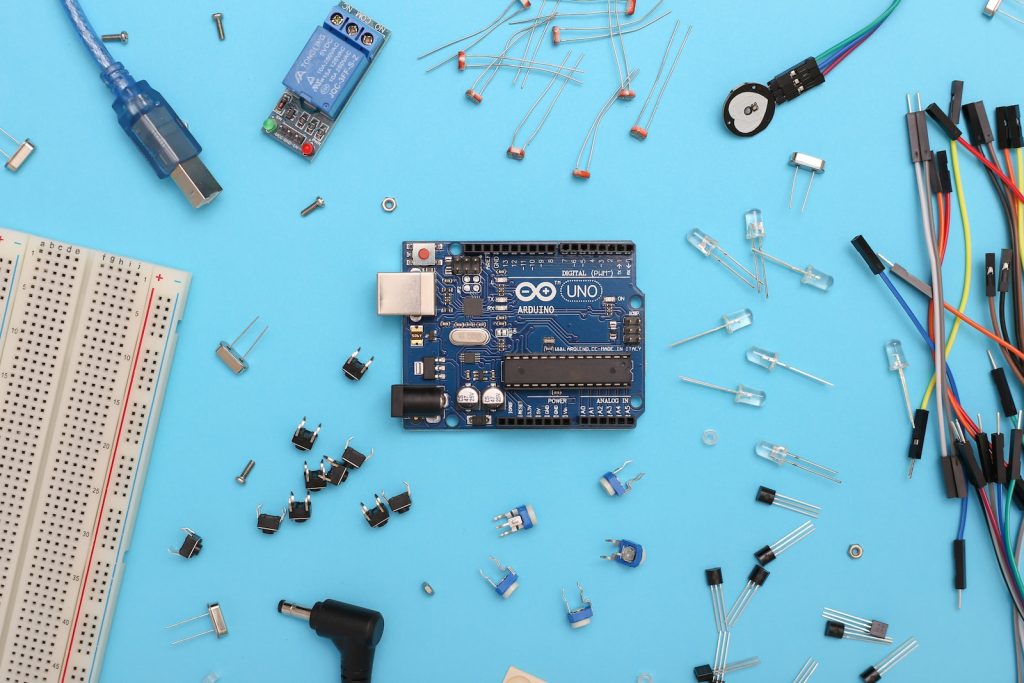
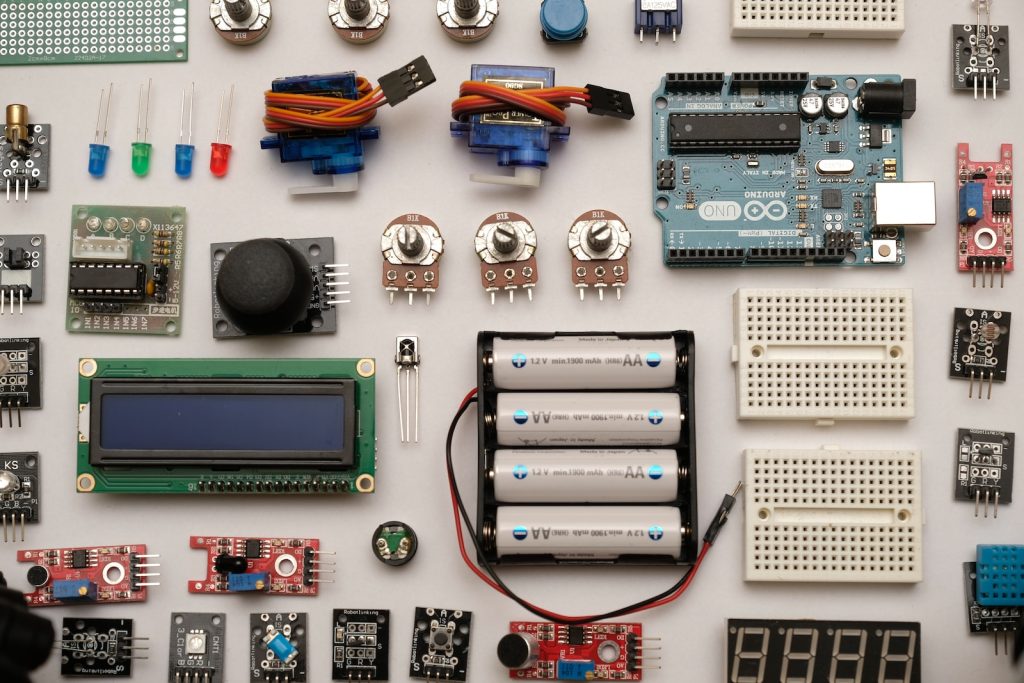
Materials Required:
- Arduino Uno
- Servo motors: 2 nos. (SG90 type)
- Camera lens (Choose according to your camera type)
- 10K Potentiometers: 2 nos.
- Breadboard
- Wires and Connectors
- C-clamps and Rods (for mounting)
- Customized gear rings
- Arduino IDE software
Step 1: Assembly of Materials
Assemble all the components mentioned above. The Servo motors will control the zoom and focus aspects of your camera lens, while the potentiometers will help regulate this control.
Step 2: Connecting the Potentiometers and Servos
For this step, you will be wiring the potentiometers to the Arduino Uno and the servo motors. The servo motors have three wires – power (red), ground (black or brown), and signal (usually yellow or white). Connect the power wire to the 5V pin on the Arduino, the ground wire to the GND pin, and the signal wire to digital pin 9. Do the same with the second servo, but connect the signal wire to digital pin 10. Connect each terminal of the potentiometer to the 5V and GND on the Arduino, and the middle terminal to the analog pin A0 and A1 for the two potentiometers, respectively.
Step 3: Assembling the Motor Drive for Lens
The servo motors need to be aligned with the zoom and focus rings on the camera lens. Hence, the motors are fitted into custom-made gear rings that interlock with the grooves of the lens rings. Afterward, mount these assembled motor drives onto the camera lens using C-clamps and rods.
Step 4: Writing the Arduino Code
Launch the Arduino IDE on your computer. Begin by including the Servo.h library at the top of your code. This library allows the Arduino to control the servo motors effortlessly.
Here’s a simple example of how your code should look:
#include <Servo.h>

Servo zoomServo, focusServo;
int zoomPot = A0, focusPot = A1;
int zoomVal, focusVal;

void setup() {
  zoomServo.attach(9);
  focusServo.attach(10);
}

void loop() {
  zoomVal = analogRead(zoomPot);
  focusVal = analogRead(focusPot);

  zoomVal = map(zoomVal, 0, 1023, 0, 180);
  focusVal = map(focusVal, 0, 1023, 0, 180);

  zoomServo.write(zoomVal);
  focusServo.write(focusVal);
}
Step 5: Uploading the Code to Arduino
Connect your Arduino Uno to your computer using the USB connection. In the IDE, select the correct board (“Arduino/Genuino Uno”) and the appropriate port. Once these have been selected, upload the code to Arduino.
Step 6: Testing the Setup
Now it’s time to test our assembly. Rotate the potentiometers to check if they’re controlling the zoom and focus of the camera lens via the servo motors.
And voila! You’ve got an efficient, Arduino-powered, remote-controlled zoom and focus tool for your camera lens. Say hello to crisp, focused, and better photography/filmmaking.
Remember, there might be some differences based on the camera lens you are using, but the overall process remains identical.
This easy-to-make Arduino controlled zoom and focus tool is a practical and fun way to accomplish more precise control for your image capturing endeavors. It is a cost-effective solution that, once mastered, can enhance your expertise in both hardware assembly and programming. Happy shooting!